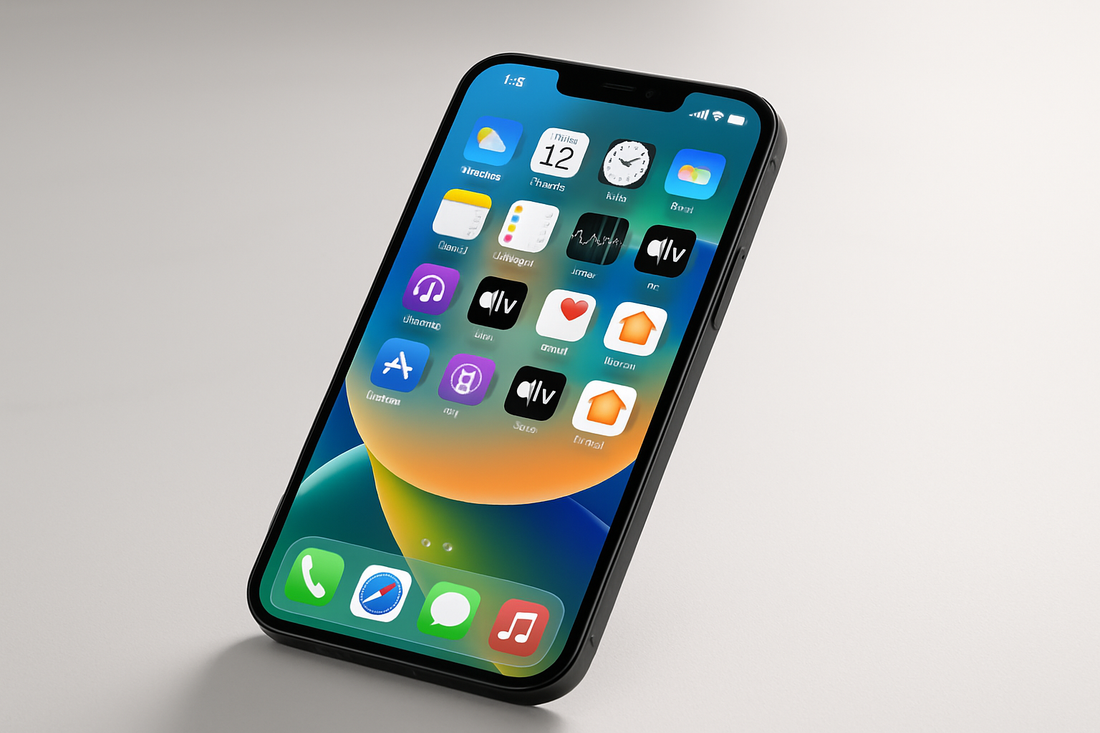
Installing Guide - iPhone
Share
Are you ready to ditch the physical SIM card and switch to the convenience of an eSIM for your iPhone? Follow this expert guide to seamlessly install your eSIM in no time.
What is an eSIM?
An eSIM, or embedded SIM, is a digital SIM card that allows you to activate a cellular plan without the need for a physical SIM card. It's a game-changer for those looking for flexibility and convenience when it comes to managing their phone plans.
Check Compatibility
Before you begin the installation process, make sure your iPhone model supports eSIM technology. Most newer iPhone models, such as the iPhone XS, XR, 11, and 12, are eSIM compatible. Check with your carrier to ensure they support eSIM activation as well.
Activate eSIM with Your Carrier
Contact your carrier to activate the eSIM on your account. They will provide you with a QR code or activation code that you will need during the setup process. Make sure to have this information handy before proceeding.
Set Up eSIM on Your iPhone
Go to Settings on your iPhone and select Cellular. Tap on Add Cellular Plan and scan the QR code provided by your carrier. If you were given an activation code, enter it manually. Follow the on-screen instructions to complete the setup process.
Choose Your Primary and Secondary Plans
Once the eSIM is activated, you can choose which plan you want to use as your primary line and which one will be the secondary line. This allows you to easily switch between plans depending on your needs.
Manage Your eSIM
With the eSIM installed, you can now manage your cellular plans directly from your iPhone. Easily switch between plans, add new plans, or remove existing ones all within the Settings menu.
By following these simple steps, you can enjoy the benefits of an eSIM on your iPhone, including the flexibility of multiple plans on a single device. Say goodbye to physical SIM cards and hello to the future of mobile connectivity!
